Step 2. Identify the light source
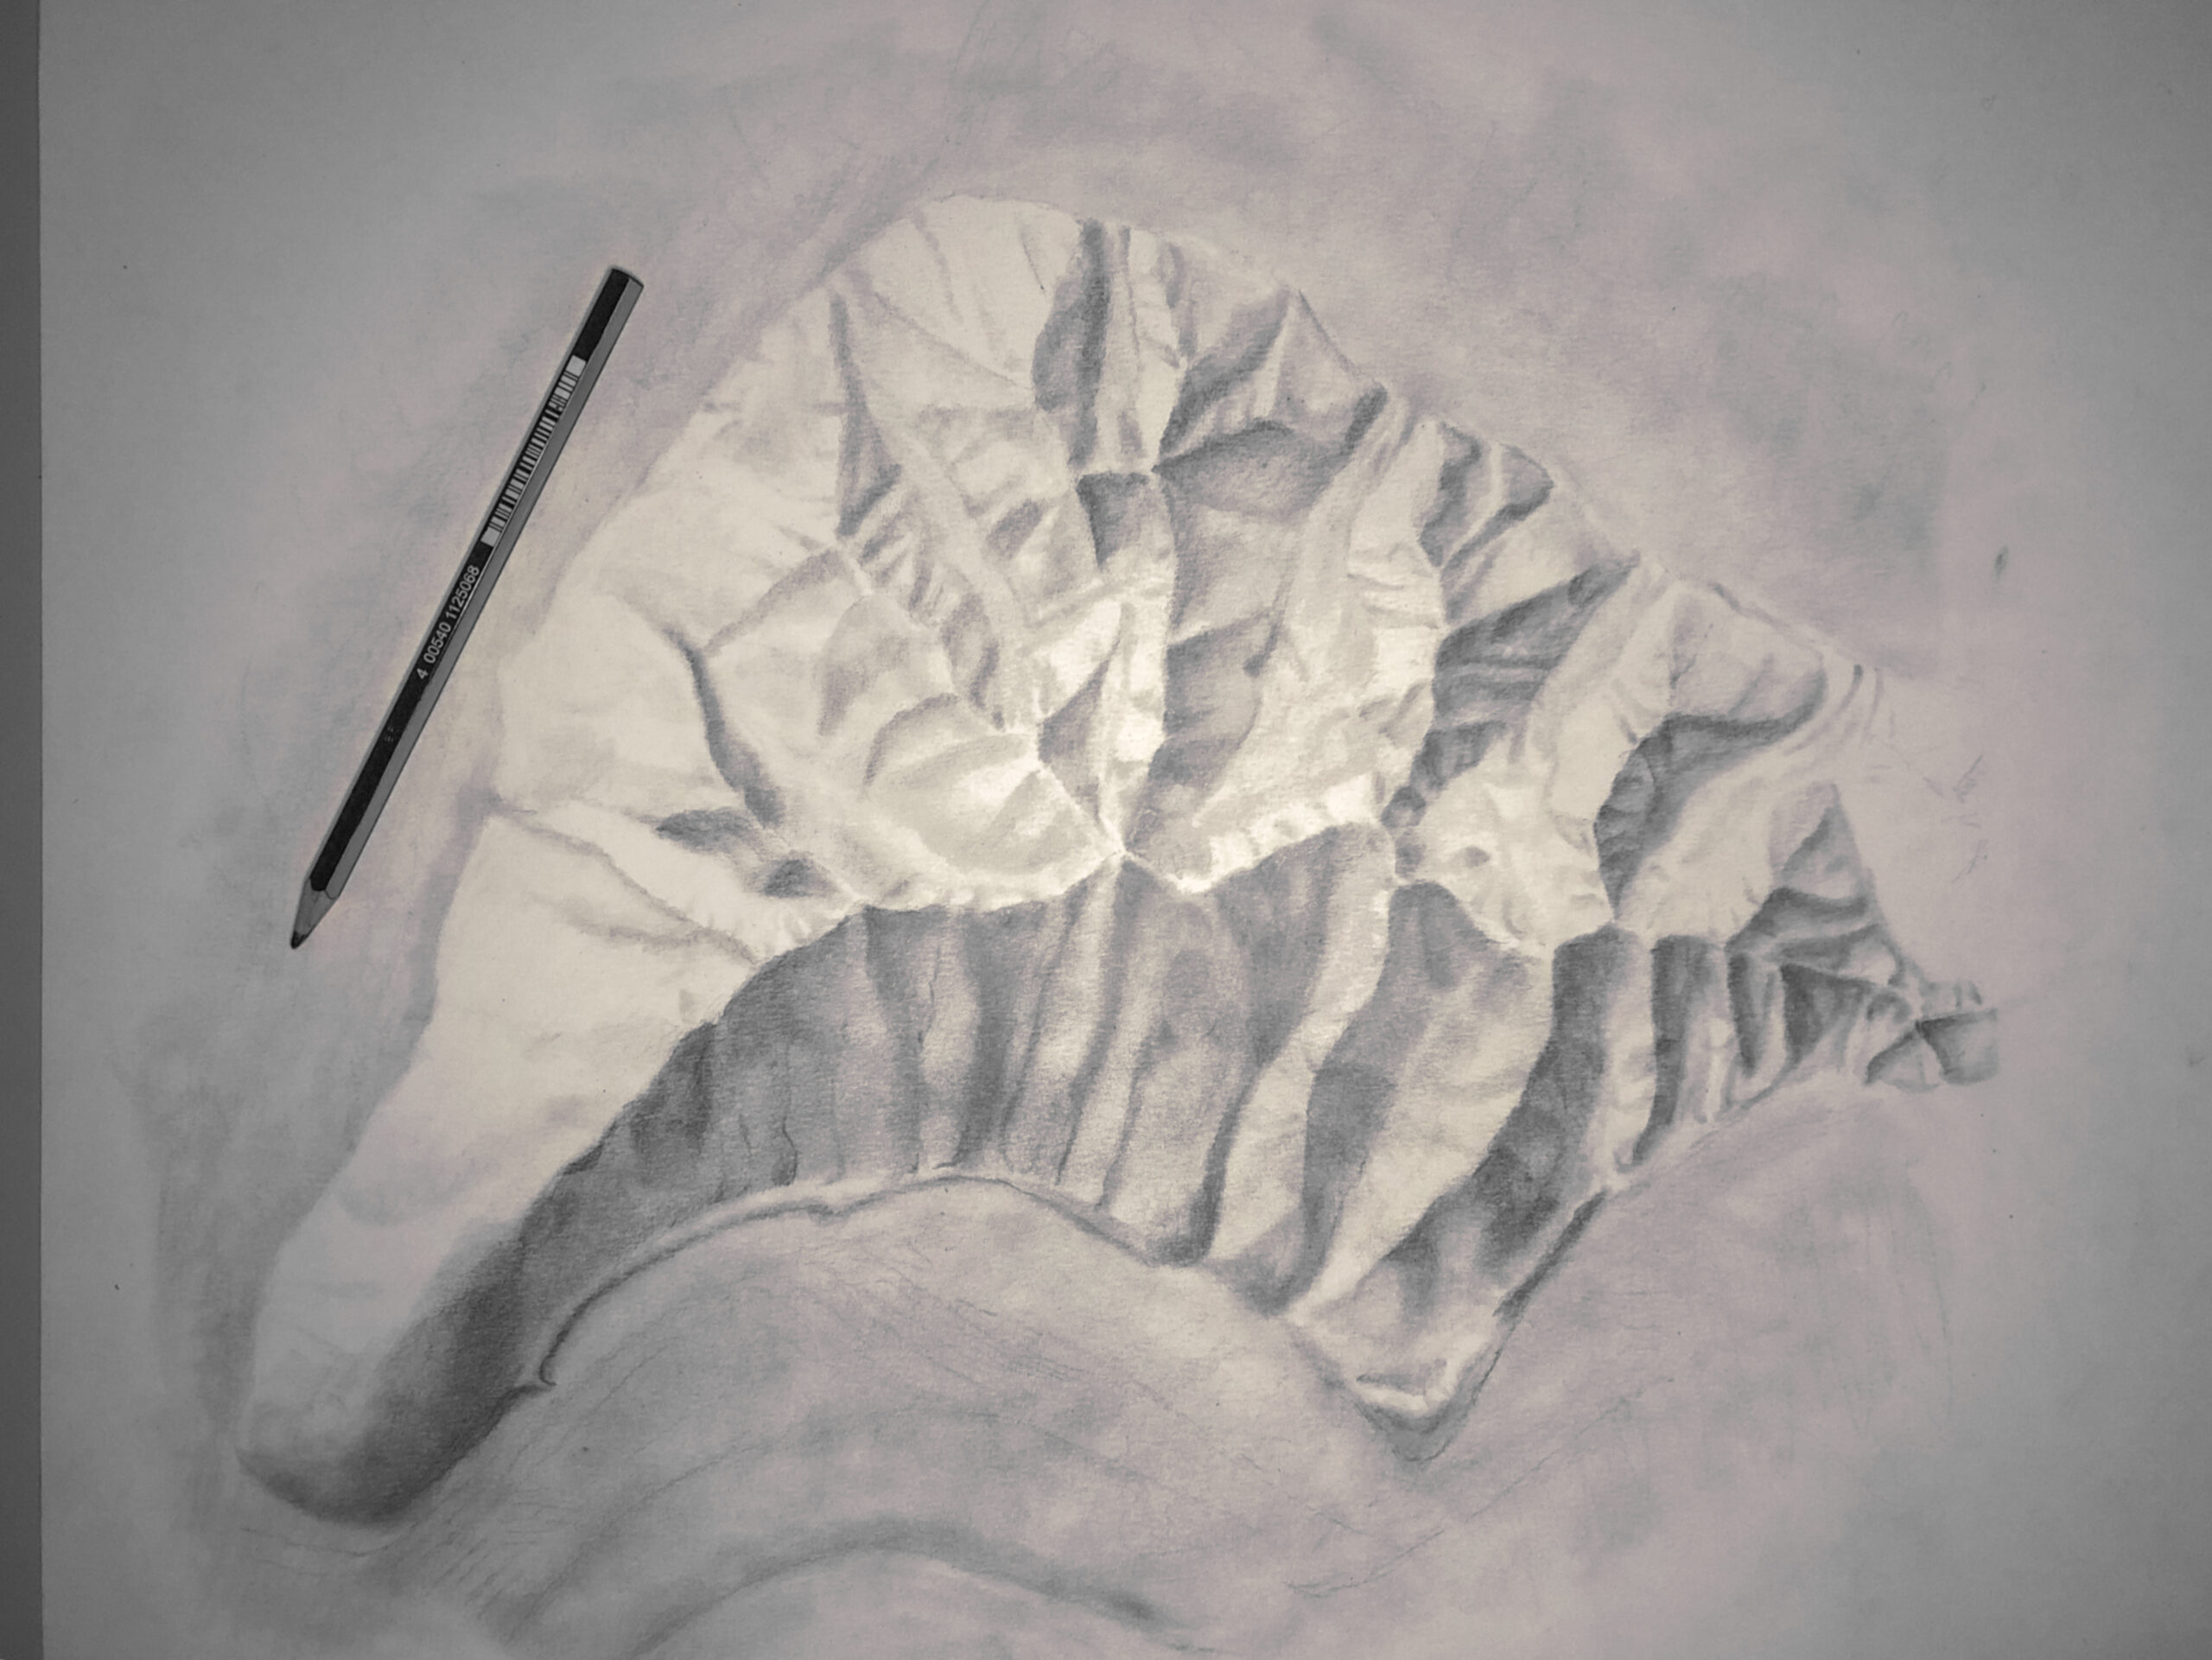
Although this may seem insignificant, understanding the way light moves across your landscape is the key part of executing hillshade. This is true whether you’re drawing shaded relief by hand or if you’re creating it digitally. Take a moment to study your reference image. Notice that the light source (most likely) comes from the upper left of the image. This also typically corresponds to the northwest of the map. In fact, Julian Biland and Arzu Coltekin recommend a NNW light direction.
A look at relief inversion
Since we’re on the topic, and you’re interested enough in shaded relief to be this far into a tutorial about drawing it with pencils, let’s look at a phenomenon called “relief inversion.” It occurs when a hillshade’s light direction is from the lower half of the view. This light orientation causes the landscape to appear inverted — the low areas will appear high, and the high areas will appear low. It’s an optical illusion. Sure. We could jump over this hurdle by telling our brains to interpret it differently, but that is not a task we want to force on ourselves or our map readers. Take a look at this image of Mount Saint Helens below. It’s the same image I provided as a reference image. The two images are identical, except that the left one has been rotated 180 degrees. Instead of appearing as a volcano rising from the earth, the feaure on the left looks like a deep crater. For more on the science behind relief inversion see J. Biland & A Coltekin, 2016, but for a super quick generalization, here’s a clip from a video I made for choosing light sources for building footprint shadows.


