Step 4. Shade in the shadows
In this step, you’ll be putting some graphite on the page to later blend with your blending stumps in step 5. I use roughly a 3B to 6B pencil to make sure the graphite blends well.
The specifics of shading the shadows
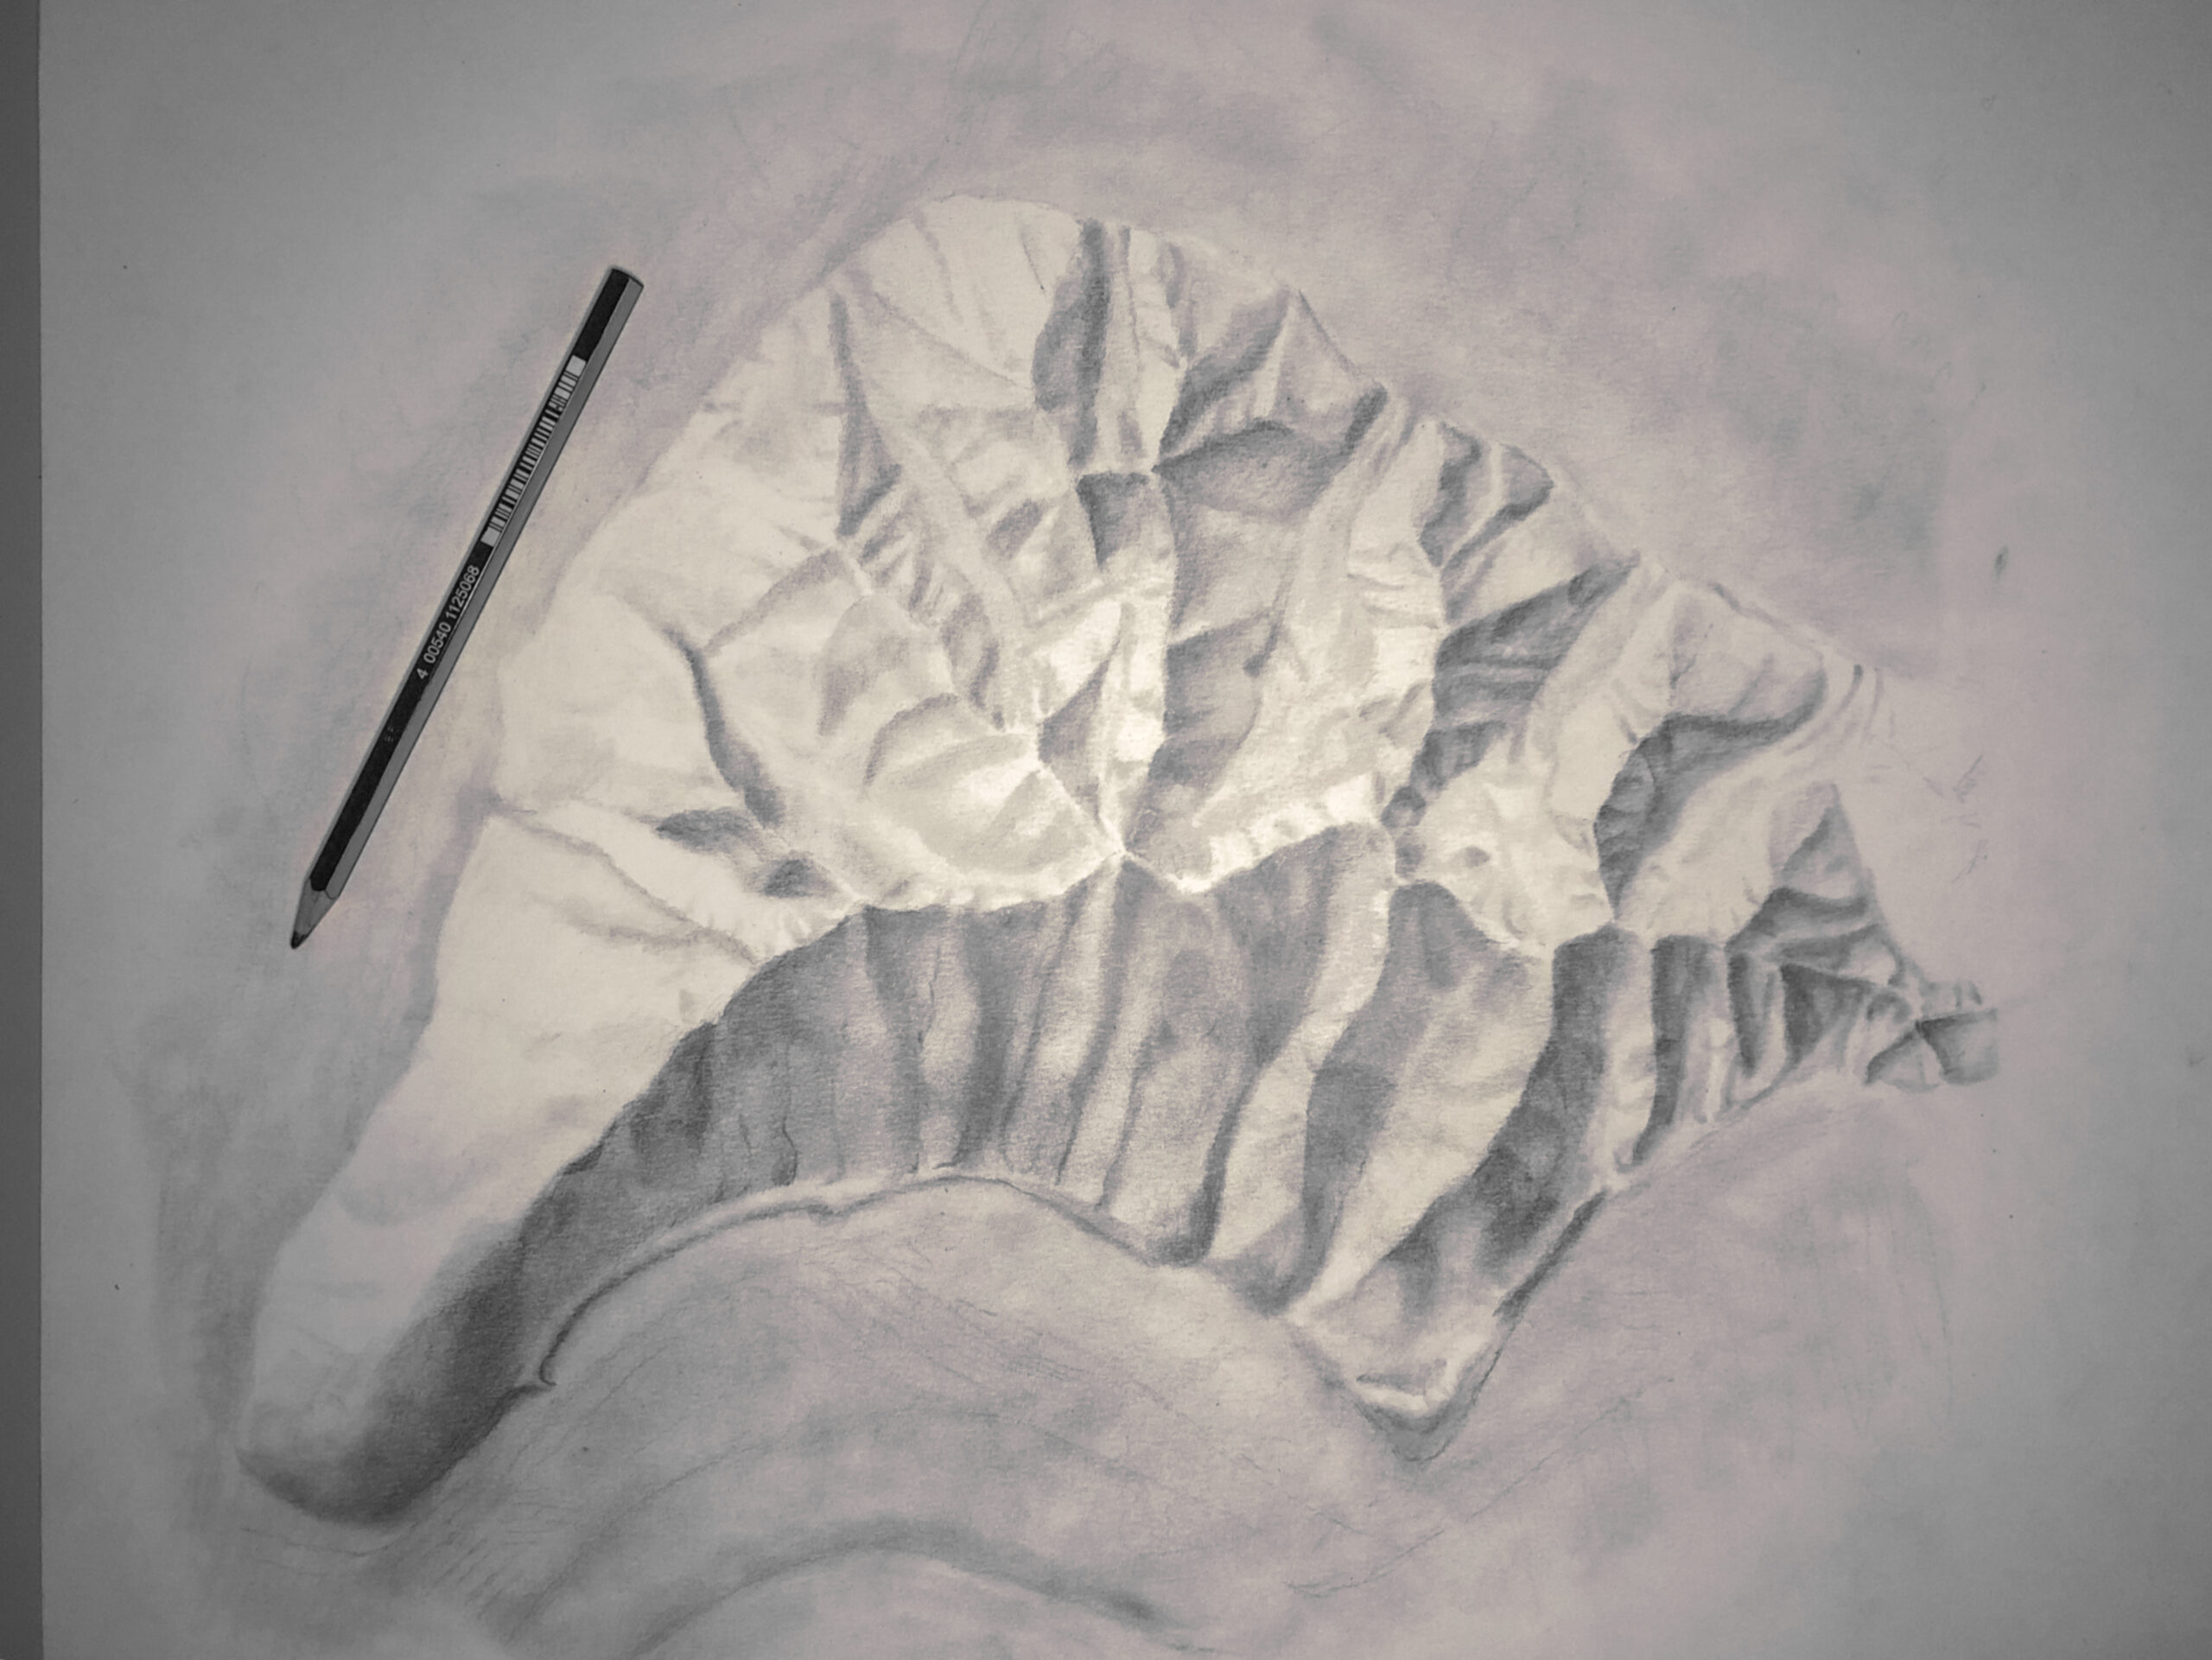
- Even on the darker sides of mountains, it is typically darkest high against the ridgeline because, as the terrain moves downslope, more ambient sunlight is able to reach the slope. For this reason, start by shading the sides of the ridges that are darkest in your reference image. Begin at the top of the mountain/hill/ridge; do not start in the lower elevations. Much of the drawing in valleys and plains will be done by blending with your stump.
- Use a light to medium-light pressure. You’ll want to draw at a pressure where the paper is still somewhat visible beneath the graphite. At least for the first iteration. Eventually, some areas on your drawing may be pretty dark. I never use very firm pressure, but rather do several iterations of step 4 and 5, perhaps choosing a 6B or 8B pencil for the darkest areas to achieve dark values.
- To avoid harsh lines, tilt the pencil so that you are using the broader side of the tip instead of the point.
- Do not shade the lighter sides of the ridges and other light areas of your hillshade, at least not in this first iteration of step 4. You will eventually be blending the graphite in these areas as well.
•Lightly shade in the sides of the ridges that are darkest in your reference photo.
Take a look at the two videos below. The first video shows my first iteration of step 4 for the Alaska reference image I shared at the beginning of this tutorial, and the second video shows the second iteration after an iteration of step 5 – blend.
In this first iteration, I’m sticking to the high elevations of the darker areas of my image. I’m not filling in the entire page with graphite. I’m just putting some graphite down with the purpose of blending it.
In this second iteration of shading the shadows, I’m using a little bit more pressure, and have started to incorporate some of the finer ridges and valleys. Also notice that neither of these videos is a complete map — a reminder to have patience during this meditative exercise of drawing.


