Step 3. Sketch the ridgelines and valleys
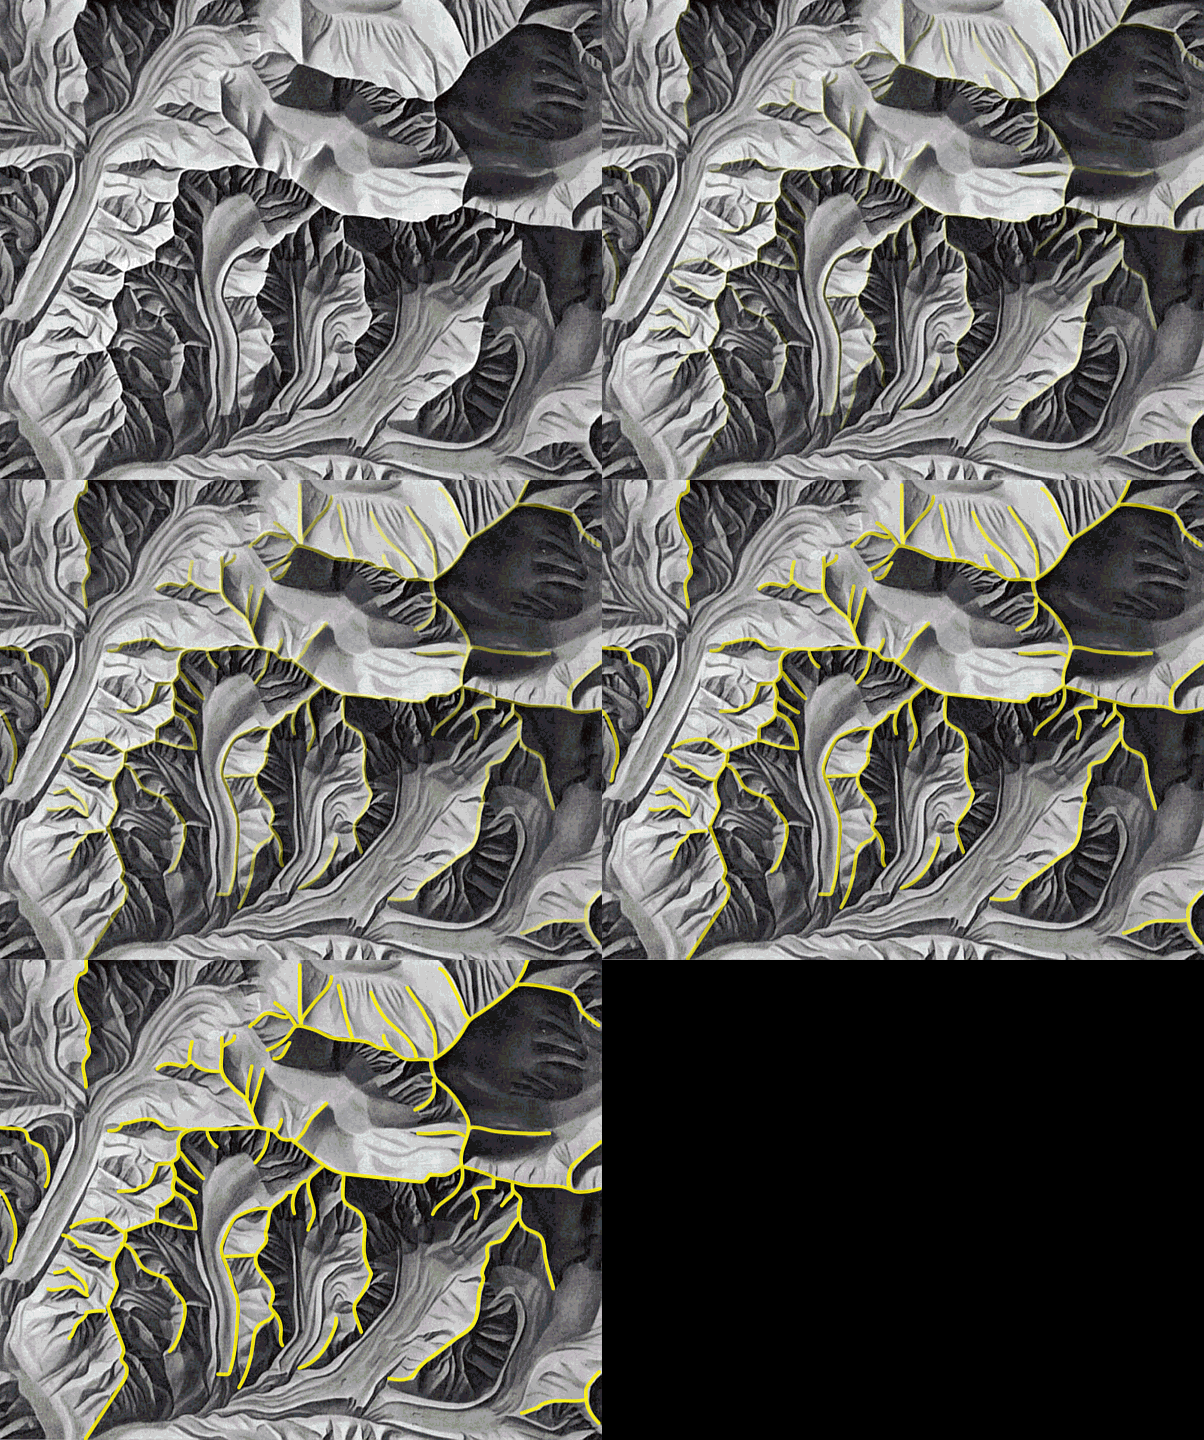
In this step, you will be sketching the framework that will carry your drawing through to completion. This is the only step where tracing takes place (unless your drawing freehand).
Visually study your reference image identifying the crests of where light and dark values are divided. These divisions can be subtle or stark. It may even be the general line along a gradient (think glacially carved u-shaped valleys or rounded mountain tops). What you’re actually doing is identifying the crests of where the light and dark values divide, and lightly sketching them.

I tend to sketch all of the ridgelines and some of the valleys. Since I am constantly looking at my reference image throughout the entire process, I find that I don’t need to trace all the valleys beforehand. In fact, you’ll see in subsequent videos that I add some of the minor ridgelines throughout the whole drawing process.
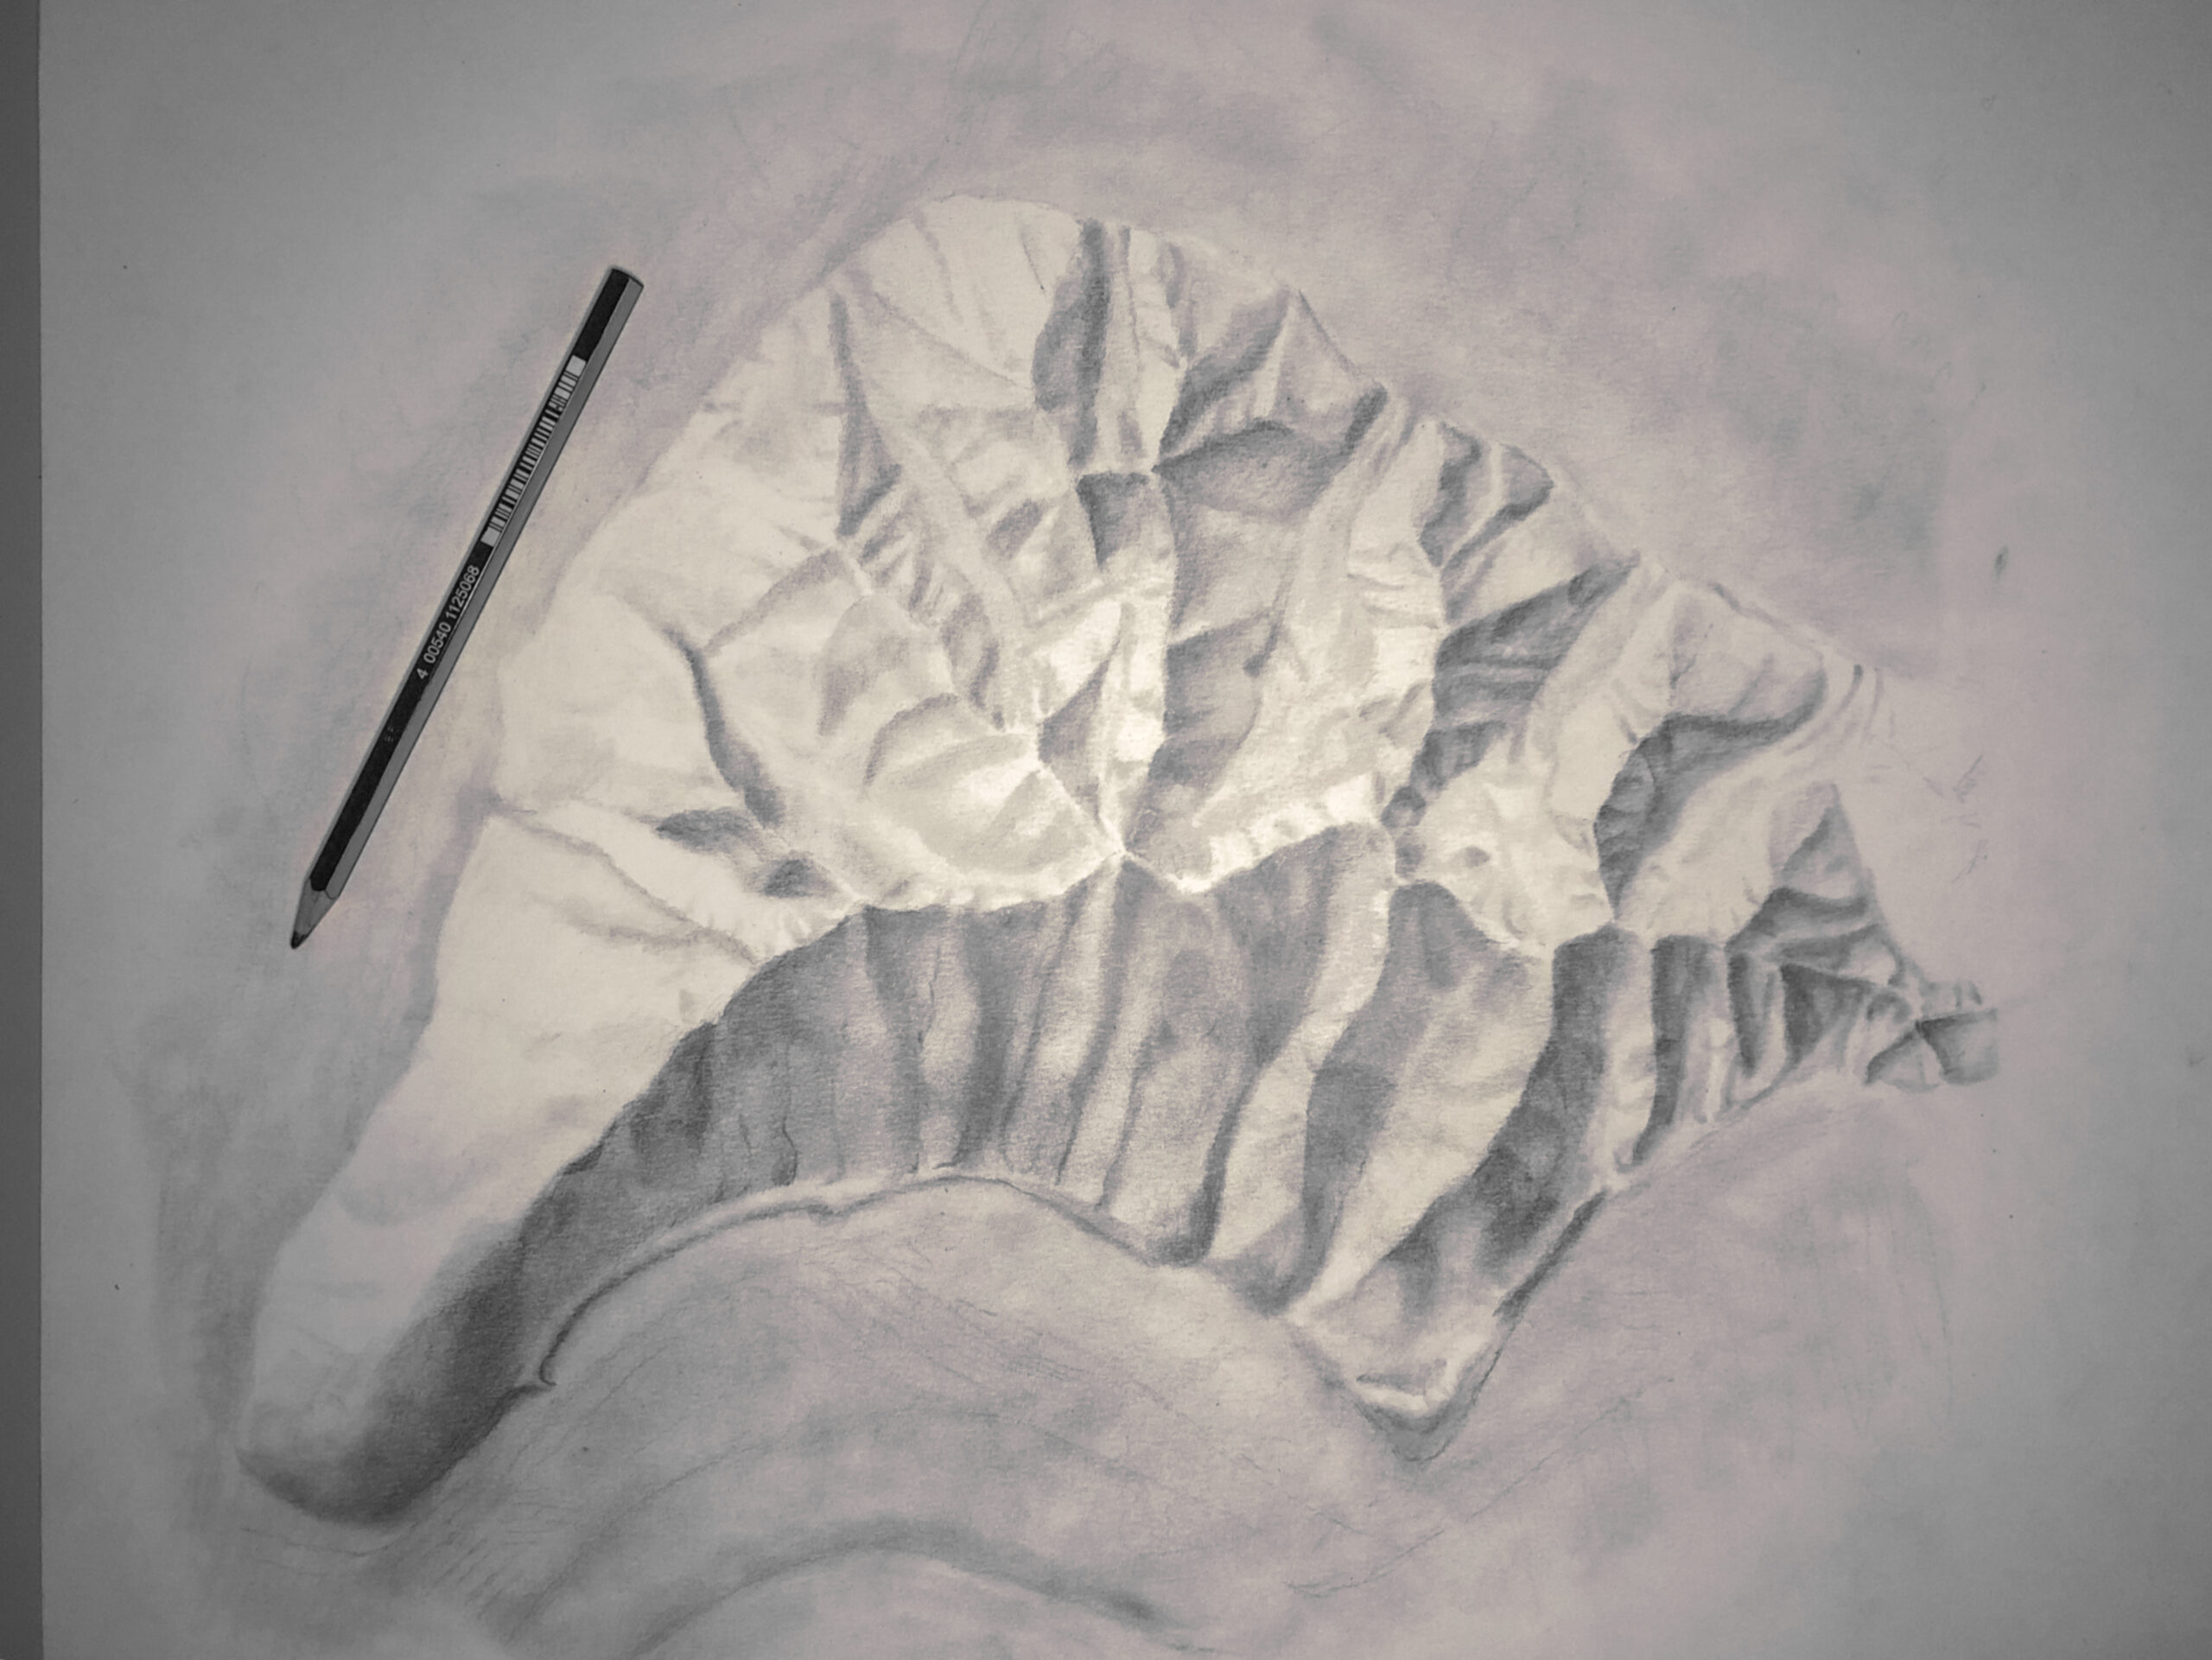
The video below illustrates drawing the ridgelines for my Everest hillshade sketch. Note that the pencil pressure should be very (very) light. You are going to eventually be blending these lines, so I recommend using a softer pencil (4B or 5B).
To Trace or Freehand?
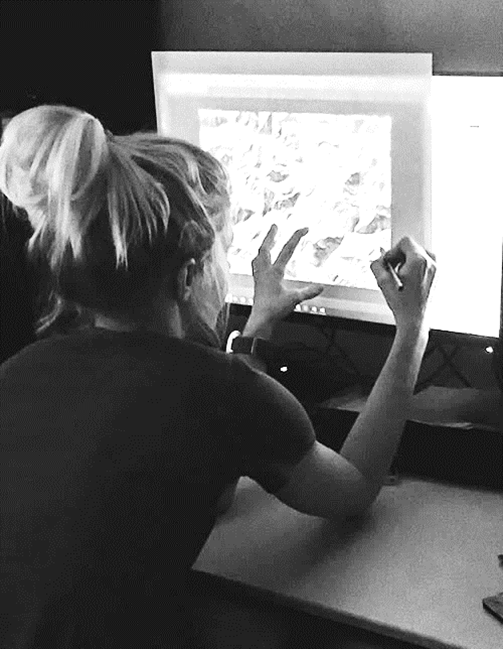
Whether you draw by tracing the ridgelines (see step 1), or if you draw your hillshade freehand is your choice. I enjoy doing both. However, if the drawing is intended to be aligned with other geo-data, or if the client is asking for a geo-correct map, I prefer to trace. This ensures that additional map data will align well with the hillshade. When I am warming up, or doing sketches while preparing for the final map, I do prefer freehand as an exercise in drawing precision.


